How to Clean and Lube Motorcycle Chain
Disclosure: We may get commissions for purchases made through links in this post.
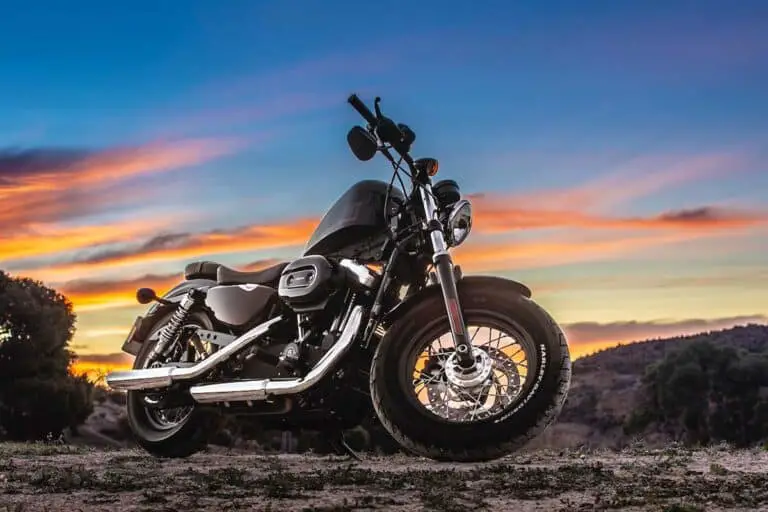
Final drive systems carry out the essential task of delivering power to the ground and putting two-wheelers in motion. And of the three drive systems commonly used – belt, shaft, and chain – the latter is most preferred due to its durability and low cost. Let’s talk about how to clean motorcycle chains in today’s article.
So, how do you clean motorcycle chains exactly? First, inspect and adjust the chain slack. Next, rid the chain of grime and dirt with compatible cleaning solutions and a cloth or long-bristled nylon brush. Wipe it dry. And finally, coat the motorcycle chain with OEM-recommended lubricant.
With proper care and maintenance, chains can last up to 30,000 miles. Conversely, they may not even reach 10,000 miles when ignored. Expectedly, these timelines are not true for all chain drive systems.
Nonetheless, no rider would want to drive with filthy-looking wheels nor replace their chain and sprockets all the time – which is why knowing when and how to clean and lube motorcycle chains is fundamental.
Different Types of Motorcycle Chains
Before we delve into how to clean motorcycle chains, let us first learn more about the different chains used on motorcycles and their variances. (This list consolidates motorcycle chains based on construction and profile).
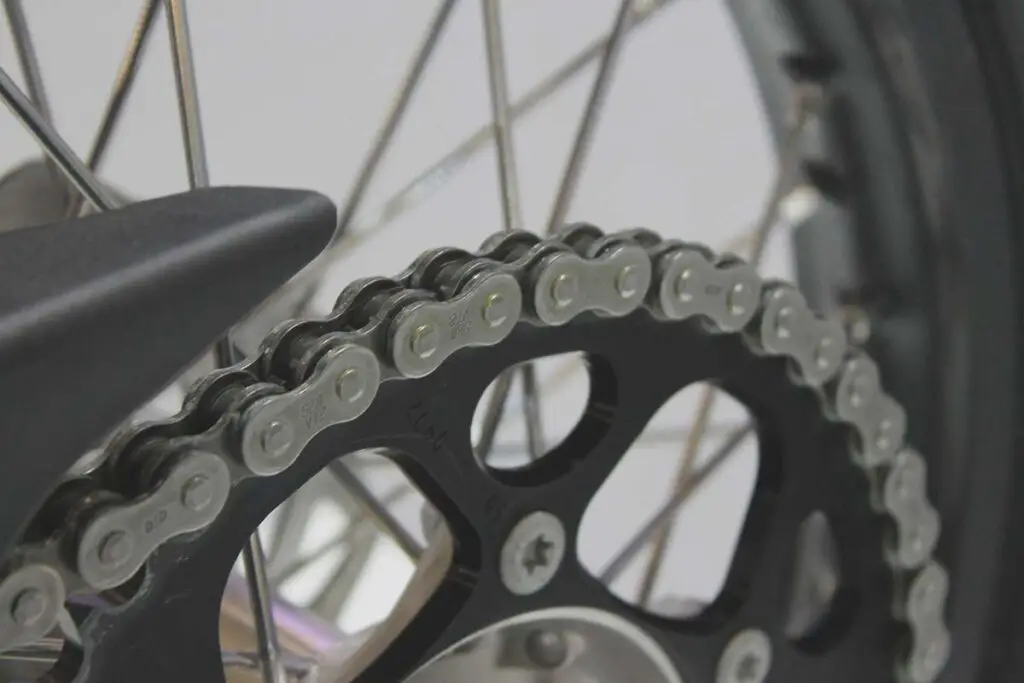
Unsealed (a.k.a. Uncovered or Standard Roller) Chains
This chain type is commonly found on small-displacement, entry-level, street-legal, or off-road/dirt bikes and vintage motorcycles. Outside of motorized two-wheelers, it can also be seen on bicycles (one-speed and derailleur bike chains fall under this category), conveyor belts, and bulldozer treads. Structure-wise, it comprises a series of metal bearings (source: Rider Magazine).
The lack of extra features makes this motorcycle chain a lube guzzler. This means owners who have it for their drivetrain need to consistently apply lubricant (every few hundred miles or as the OEM suggests) to keep its parts from grinding themselves into nothingness.
Additionally, reducing friction between its bushings and link pins can prove difficult despite religious lubrication of high-wearing components. These qualities result in the chain’s premature wear – something motorheads try their hardest to avoid through frequent slack adjustments (or replacement in some cases).
Pros
- The cover protects the chain from the elements
- Lightweight
- Low manufacturing cost
- It offers lower drag and improved power transmission
- Simple design and structure
Cons
- It causes sprockets to wear off faster
- Challenging to clean and maintain due to being in a case
- It does not take much to loosen
- Needs frequent lubrication
- Not very sturdy
Price Range: $11 – $348+
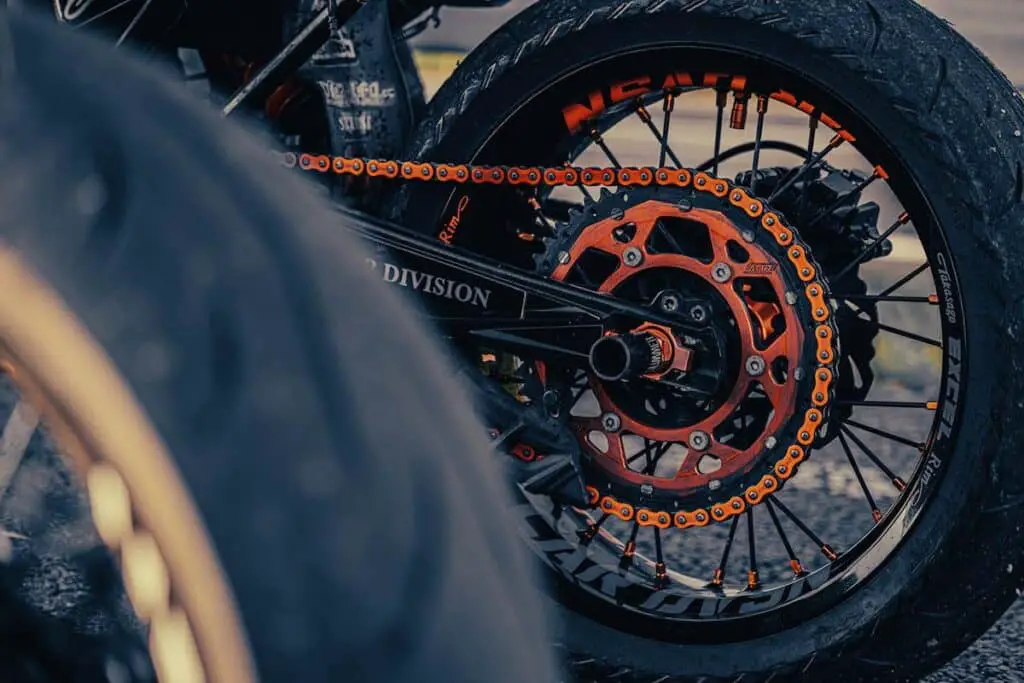
Sealed (a.k.a. O-ring) Chains
O-ring chains, on the other hand, “have rubber seals sandwiched between the side plates and inner links, sealing in grease that is sucked in around the pins via vacuum when the chain is manufactured.” Simply put, the rubber seals keep the contact points between the plates and links greased while keeping dirt and water out.
Structurally, these chains are more robust and low-maintenance. The seal rings ensure the bushings and rivets are always bathed in lubricant, adding to their longevity and greatly reducing wear and tear.
Because of this arrangement, motorcycle owners need only keep the O-rings moist, pliable, and corrosion-resistant by applying ample chain lube. They can do so less frequently compared to how often they would normally apply lubricant on unsealed chains.
Pros
- Easy maintenance due to the absence of a chain cover
- Improved performance at higher speeds
- Minor lubrication and tightening requirement
- Makes less noise
- It is more durable
- Sprockets last longer
Cons
- Higher resistance, resulting in drag
- More expensive than unsealed chains
- Requires special lubricating agents (in some cases)
Price Range: $36 – $1,600+
X-ring Chains
An ‘O-ring chain on steroids,’ the design of this chain is meant to reduce the resulting area between the outer and inner plates when O-rings get too compressed. To achieve this, the seal ring is changed from an “O” to an “X” (sometimes a “Y” or “Z” shape even).
The latter profile offers four sealing surfaces around each link pin (instead of two), making it more readily compressible. Chain durability is also enhanced through tougher metals coupled with weight-reducing features. Not only does this technology effectively decrease drag, but it also takes chain longevity a notch higher.
Some say the downside to this profile is that the feature retaining lubrication in the chain’s most vulnerable components is not as effective as that of an O-ring seal. Also, it may not be as exacting as unsealed chains, but it is not as low-maintenance as O-ring chains. X-ring chains make for less restricted speed. But is it a fair trade-off for increased chain maintenance? Well, the choice is yours.
Pros
- Best at reducing drag
- Chain and sprocket longevity is greatly improved
- Cleaning and maintenance are not taxing due to no chain cover
- Enhanced performance at both high and low speeds
- Less noise
- Minimal lubrication requirement
Cons
- Most expensive of all chain drive systems
- Requires special lubricating agents (in some cases)
Price Range: $57 – $1,800+
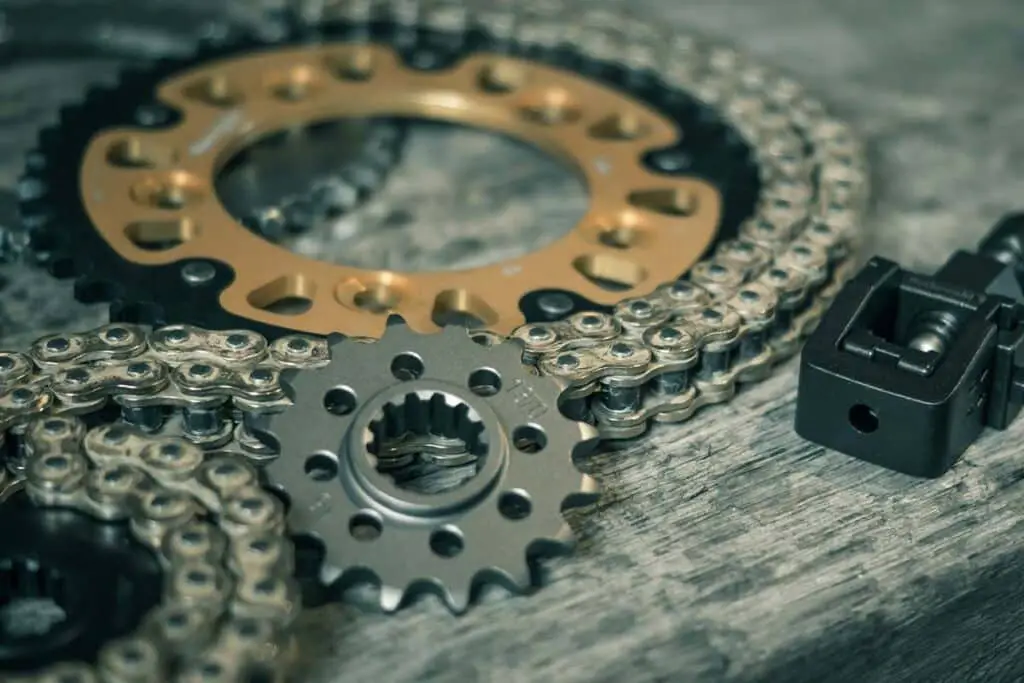
Motorcycle chains vary in pitch, inside width, and number of links – hence, the different ISO (#415, #420, #520, #525, #530, #530, and #630) and ANSI (#25, #35, #40, #41, and #50) motorcycle chain sizes and their respective nuances. You can find these chains in all three configurations mentioned above.
Why Cleaning Your Motorcycle Chain Is Important
Regardless of profile, the design of a motorcycle chain makes it prone to dirt, slush, and particle buildup, adversely affecting its efficiency. The said accumulation also cuts down the seals holding the chain and its links. Because of what they are exposed to, motorcycle chains tend to rust, eventually translating into premature wear and rear-wheel power loss.
Outside of these tendencies, the way motorcycle chains operate is enough reason for some TLC. As the chain flexes from straight to curved around the sprockets (and vice-versa), its rivets rotate inside the bushing. The tension created during this process wears away some of the pins and bushings’ metal, causing the motorcycle chain to elongate.
To avoid all these outcomes, thorough cleaning and lubing of motorcycle chains are needed.
Signs Your Motorcycle Chain Craves Attention
A poorly maintained motorcycle chain can cause a slew of drivetrain and performance problems (on top of being a safety hazard). Here are tell-tale signs that would signify the need for immediate cleanup and lubrication of this all-important component:
- The motorcycle chain is extremely noisy.
- You notice a gradual or considerable power loss, and your engine and electricals check out.
- There is at least 1/4″ of slack when you pull your motorcycle chain out from the sprocket.
- Motorcycle chain length has increased by at least 2.5% compared to when it was brand new.
- The chain is either too loose or has links that are too tight (although the links are not over-tightened).
- The motorcycle chain or corresponding sprockets is overworn.
- The rear axle cannot be tightened enough (due to a missing spacer or rust formation).
What Happens When These Symptoms Are Ignored?
- Uneven power transmission from the mill to the rear wheel
- Jerky wheel movements
- Premature motorcycle chain wear
- Possible replacement of the entire chain drive system
Recommended Intervals
According to Bike Restart, the drive chain of a two-wheeler should be thoroughly inspected after every wash or every instance of riding in the rain or wet areas.
Additionally, it should be lubed every 500 miles. However, these are only two out of four steps encompassing full-on motorcycle chain maintenance. To know exactly how often to clean motorcycle chain drive systems, refer to the information below:
Inspection (Frequency: Before every ride!)
Visually examine the motorcycle chain for wear, and include chain tension in your inspection. If you notice excessive free play or chain misalignment, immediately adjust chain slack to spec to prevent further damage.
Per Cycle World Magazine, the usual motorcycle chain slack is 1.4-2.0 inches for dirt bikes and 1.2-1.6 inches for street/road-legal motorcycles. However, the operative word here is “usual.” To determine the appropriate chain slack for your two-wheeler, always refer to your owner’s manual for the correct figures.
Cleaning (Frequency: Every 300-1,000 miles)
You may clean a motorcycle chain with WD40 or kerosene and a grunge brush. However, some motorheads argue iPone Chain Cleaner Spray, Muc Off Motorcycle Chain Cleaner (view on Amazon), and Simple Green Cleaner & Degreaser as the best motorcycle chain cleaners out in the market.
Lubrication (Frequency: Every 300-1,000 miles)
Contrary to popular belief, sealed or standard roller chains require lubrication too. Like all other profiles, these motorcycle chains end up with a shorter lifespan (if not wear out faster) without proper lubrication.
For all chain types, recommended frequencies for chain lubrication vary and are highly contingent on the quality of the motorcycle chain, riding conditions, driving patterns and behavior, outside weather, application, and how close the chain is to requiring a replacement.
Adjustment/Alignment (Frequency: As required)
This can be manually done or with rear axle adjusters. Depending on the chassis layout of the motorcycle, you can find these adjusters on the rear side of the swingarm (sometimes around the shaft nut). They typically look like two bolts with nuts on them and are advisably adjusted one side at a time.
How to Clean and Lube Motorcycle Chains
Since we have discussed the different motorcycle chains, symptoms of dirty/worn chains, suggested intervals, and the importance of maintenance, it is time to go over how exactly to do the latter. We will cover the step-by-step process not only of cleaning motorcycle chains but also of lubing them:
Step #1:
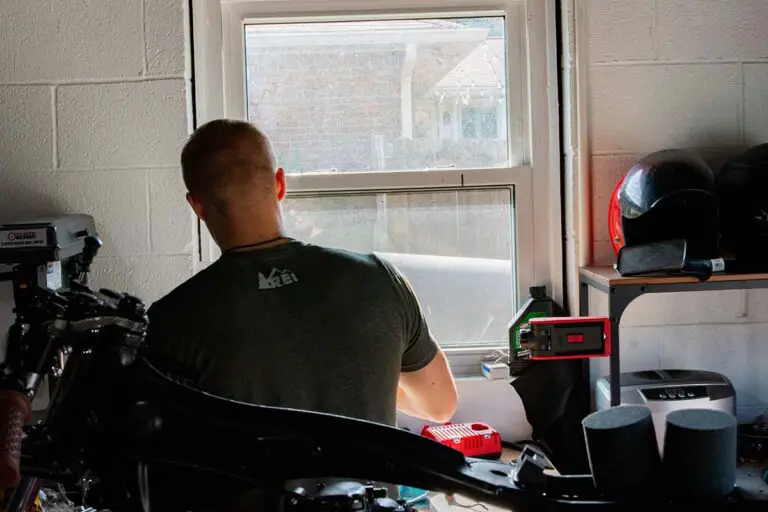
Park the bike on a flat, even surface – preferably on a G-roller or a motorcycle stand (view on Amazon) if your two-wheeler is not equipped with a center stand. Then shift the transmission into neutral to ensure the rear wheel is free to move.
Ensure the ignition is turned off and that mechanical power is not used to rotate the rear wheel during the cleaning procedure, lest you risk losing some fingers.
Step #2
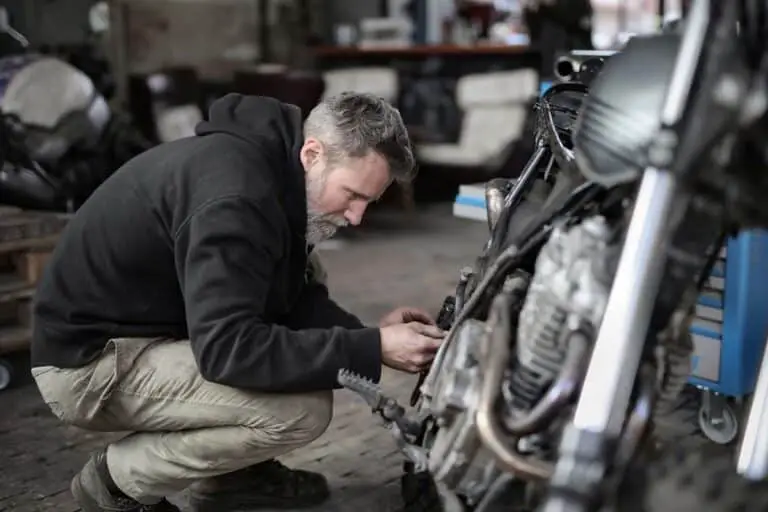
Inspect the chain slack. It should be within 25-35 mm, or whichever limit the OEM specifies in the owner’s manual. If outside of these values, adjust the chain slack accordingly. If you discover tight spots by rotating the wheel, brace for a possible chain replacement.
Step #3
Loosen the rear axle nut and locknut on each side of the swingarm to adjust the chain slack. Next, turn the adjusting bolt for the drive chain slack on each side of the swingarm. Then push the rear wheel forward.
While at it, make necessary adjustments on the rear swingarm and sprockets to ensure chain alignment is straight, the motorcycle chain itself is tight, and the apexes of the sprocket teeth are not curved.
Ascertain that the rear wheel is aligned, too – this is made convenient on some motorcycles with the aid of reference marks found on the rear swingarm.
Step #4
Make sure to clean the drive chain after inspecting and correcting the chain slack. To prevent spillage, cover the ground with thick sheets of paper before beginning this step. Clean the chain while rotating the rear wheel clockwise and applying cleaning spray (the same goes for the sprockets) to ensure proper coating.
When cleaning, use a dry cotton cloth (or a soft nylon brush with long bristles for hard-to-remove dirt) with a high flash-point solvent, not gasoline. Wear protective goggles and a face mask to prevent accidental inhalation. Also, refrain from using steam cleaners or pressurized washers, as they can damage the seal rings of the chain.
Some chain cleaner variants (Simple Green Pro HD Heavy-Duty Cleaner, for instance) are a non-spray type and require diluting in three parts water before use on a motorcycle chain. Moreover, it only superficially removes grime and dirt and may not be the best option for a thorough motorcycle chain cleanup.
It would be worth researching which cleaning kit would work best for you and your two-wheeler before even using the same to clean your motorcycle chain.
Step #5
Wipe the motorcycle chain dry after cleaning with another cotton cloth, ensuring the cloth soaks up excess cleaning liquid dripping from the motorcycle chain.
Step #6
Let the cleaned motorcycle chain sit for at least 40 minutes to an hour. Once bone-dry, thoroughly lubricate it. You may do so by spraying lubricant freely on the sprockets, seal rings, and throughout the length of the motorcycle chain.
Use only recommended lubricants – ideally water-based versions that turn into gel and effectively remove dirt and grit – and stay away from cheap, incompatible variants. Furthermore, don’t get lubricant on the brakes and tires or your clothes.
There are contradictory views on whether riders should lubricate their motorcycle chain before or after taking the two-wheeler for a quick spin. While residual heat from the bike has been proven to help suck the lubricant into the motorcycle chain and make seal rings more pliable, it would be best to consult the owner’s manual as to which of these final steps should go first.
Step #7
Finally, wax your motorcycle chain. This step protects your motorcycle chain against dirt and grime buildup and against wear for your chain and sprockets. Do this the same way you applied your chain lubricant. Rotate the rear tire so that the wax reaches each and every link the motorcycle chain has, and allow it to set for at least 10 to 15 minutes.
Motorcycle Chain Lubes and Cleaning Kits
Based on numerous motorcycle publications, the following are the best motorcycle chain lubes and cleaners currently out in the market:
Cleaning Kits
- Maxima 70-749203-3PK Ultimate Chain Care Aerosol Combo Kit (view on Amazon)
- Moto Chain Mate (view on Amazon)
- Motorex Chain Clean
- Motorex Off-Road Chain Care Kit
- Motul 109767 Chain Care Kit
- Muc-Off Biodegradable Chain Cleaner
- Oxford Mint Chain Cleaner
- Silkolene Chain Cleaner
- Tru Tension Prime Shine Chain Cleaner
- Wurth Brake and Chain Cleaner
Lubricants
- Bel-Ray Super Clean Chain Lube
- Maxima Chain Wax
- Maxima Synthetic Crystal Clear Chain Guard
- Motorex Road Chain Lube
- Motul C3 Chain Lube Off-Road
- Motul Factory Line Racing Chain Lube (view on Amazon)
Conclusion – How to Clean a Motorcycle Chain
Irrespective of make and model, every motorcycle warrants a grime-free, fully functional chain. After all, the component is what gets the two-wheeler going places. But keeping the chain in this condition does not just happen on its own.
With the help of the information shared here, you should now be able to clean and lube your motorcycle chain on your own and with ease. I hope that your learnings from this article not only help extend the life of your motorcycle chain but also make more memorable riding experiences possible.