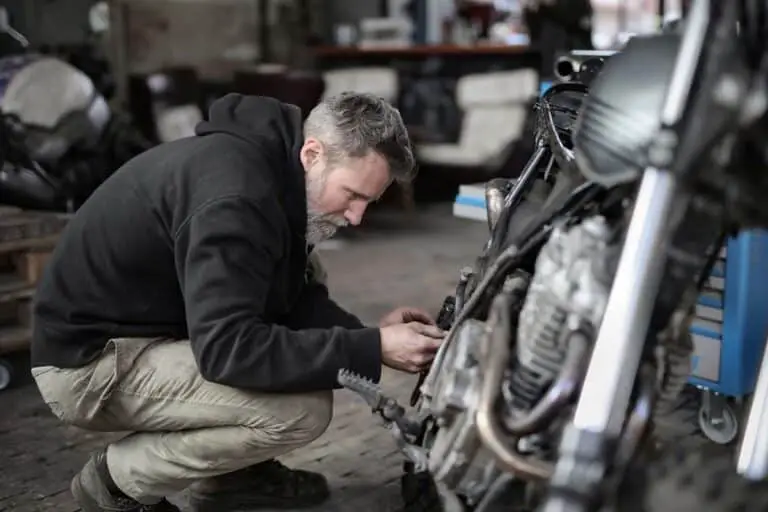
How to Change Motorcycle Brake Fluid (8 Steps)
Disclosure: We may get commissions for purchases made through links in this post.
Brake fluid plays a critical role in motorcycle braking systems by transferring force from the brake lever to the caliper. It lubricates and protects the brake system from corrosion and overheating, providing a safe and reliable braking performance.
In this guide, let’s learn how to change motorcycle brake fluid and answer common questions about this preventive maintenance.
Here is how to change your motorcycle brake fluid:
- Have all the necessary equipment before you start.
- Locate your motorcycle brake fluid reservoir.
- Remove old or used brake fluid.
- Refill the brake fluid reservoir.
- Bleed the brakes.
- Check fluid levels.
- Make sure to tidy up.
- Test your brakes.
A DIY brake fluid flush costs around $75—$100, while outsourcing to a mechanic costs $100 or more. Meanwhile, replacing the fluid reservoir and bleeding brake lines increases expenses to $400!
If you do not wish to overly spend on repairs, then brush up on your motorcycle upkeep — starting with changing your brake fluid.
How to Change Motorcycle Brake Fluid
Given its impact on handling and rider safety, we will go over step-by-step instructions on how to change your motorcycle brake fluid (as promised) in this section:
1. Have all the necessary equipment before you start.
In changing your brake fluid, you need to be ready with the following tools and supplies:
- A fresh supply of DOT 3 or DOT 4 brake fluid (or whichever your motorcycle manufacturer recommends).
- Wrench for the bleed valves on the brake caliper. Size is contingent on the make and model of your two-wheeler — although generally, 7 mm, 8 mm, or 10 mm wrench sizes are used to loosen or tighten the bleed valves.
- Socket set (if you do not already have one)
- Spanner
- Hex-head sockets
- Screwdriver (only if required for your motorcycle’s brake fluid reservoir cover)
- Brake bleeder kit like Beley 2L 110V Universal Automatic Brake Bleeder Kit with Pressure Monitoring Gauge (view on Amazon) to help remove air bubbles from the brake system
- Vacuum pump for ridding the brake lines and calipers of old brake fluid
- A clear tube snugly fitting the bleed nipple.
- Brake fluid reservoir funnel to prevent spillage while topping up the brake fluid reservoir
- Catch pan for collecting old brake fluid while you bleed your thumper’s brakes.
- Rag or paper towel to clean or wipe off any fluid spills
- Working gloves to protect your hands from coming in contact with brake fluid (a corrosive substance known to cause skin irritation
- Safety glasses to protect your eyes from brake fluid droplets, which can cause eye damage or irritation
- A cloth that you can wrap around the bottom of the brake fluid reservoir and other spill-prone areas on your two-wheeler
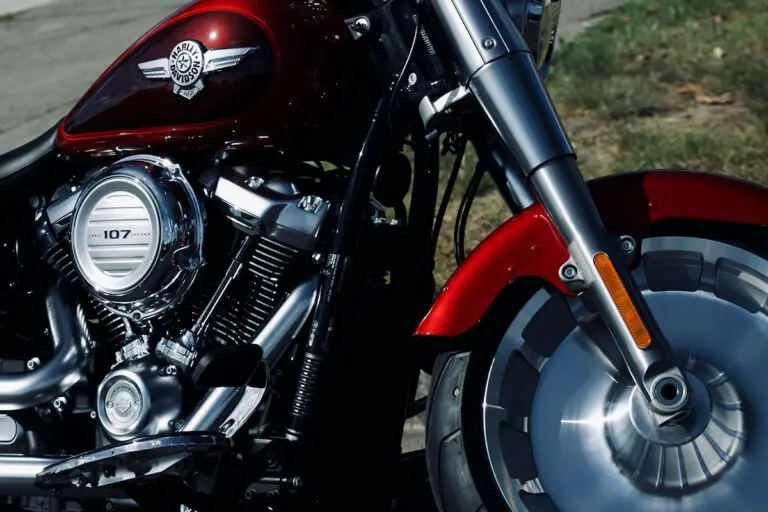
2. Locate your motorcycle brake fluid reservoir.
After readying the required tools for the job, locate the brake fluid reservoir. Its placement may vary depending on the make and model of your motorcycle.
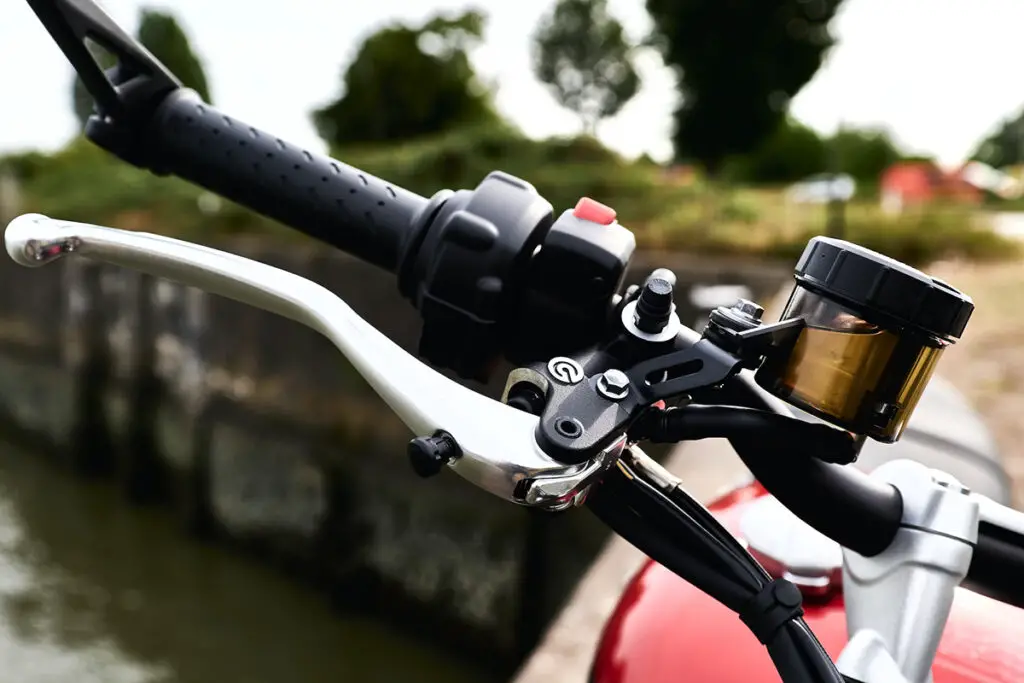
Nonetheless, the reservoir is typically situated near the brake lever, on the handlebars (view on Amazon), or close to the brake pedal.
Superficially, the brake fluid reservoir can be identified as a small container with a cap on top constructed from plastic or metal. However, some motorcycles have reservoirs made of CNC aluminum alloy, acrylic, or glass.
Whichever type of reservoir you have, it is best to consult your owner’s manual for its specific location in your motorbike.
3. Remove old or used brake fluid.
After locating the brake fluid reservoir, pop the cap open with a wrench. There are different sizes of brake fluid reservoir caps in motorcycles (based on make and model) — although they generally have a diameter between 32 mm and 40 mm. That said, use an appropriate-sized wrench to twist the reservoir cap open.
Attach a hose to the bleeder valve of your bike using a brake bleeder kit. The other end of that hose should then be placed on a catch pan or container that will collect the old hydraulic fluid. Pump the brake lever/pedal after opening the bleeder valve until the last drop of old brake fluid is drained from your thumper.
Some motorcycle owners utilize a clean syringe or turkey baster instead of a bleeder kit to suck out old brake fluid from their two-wheelers. While these other options are equally effective in doing the task, a brake bleeder kit is generally considered the most efficient in brake fluid removal.
Once done draining old brake fluid from your bike, use a clean rag or paper towel to wipe away any debris or buildup around the reservoir opening. After which, proceed to step #4.
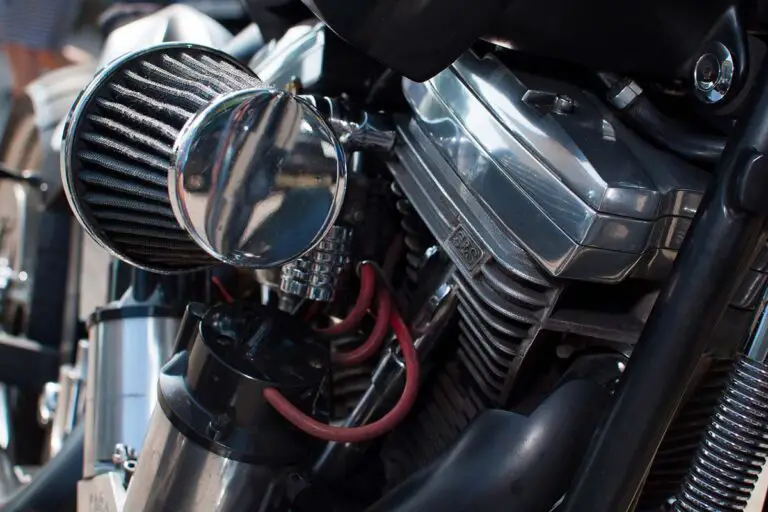
4. Refill the brake fluid reservoir.
At this stage, use a brake fluid funnel to top up the reservoir with fresh brake fluid. But before you do, inspect the inside of the fluid reservoir for any signs of dirt or debris accumulation and clean them if there are any.
Ascertain that you are filling up the reservoir with the correct type of brake fluid (follow whatever is OEM-recommended or specified in your owner’s manual). Fill the reservoir to the recommended level while ensuring the fluid does not spill on sensitive components or your motorcycle’s paint finish.
The last bit is extremely important, as overfilling your motorcycle brake fluid reservoir leads to problems that can easily escalate to serious complications. Adverse effects of excessive brake fluid in the reservoir include:
- Brake fluid aeration
- Spongy brakes
- Reduced braking performance
- Fluid leaks when brakes are applied
- A higher propensity for brake failure
Once the brake fluid reservoir is adequately filled, close the cap securely. Then check if there is sufficient pressure in the brake system by giving the brake lever a squeeze a few times.
If you do not get a firm feel in your brake lever or pedal after pressing them repeatedly, you may need to bleed your brake lines to get rid of trapped air.
(Tip: The pump systems of ABS-equipped motorbikes have to be primed following a brake fluid change. Priming involves activating the ABS pump and cycling the brake fluid through the system to remove any air that may be present and ensure wheel lock-up does not happen during braking.)
5. Bleed the brakes.
To bleed the brake lines, locate the brake bleeder valve on the brake caliper, attach a bleeder hose, and open the bleeder valve. Next, pump the brake lever or pedal to allow old brake fluid or air bubbles to escape.
Finally, close the bleeder valve and release the brake pedal or lever. Repeat these steps until there are no more air bubbles in the bleeder hose and both your brake lever and pedal are responsive.
In terms of quantity, 50 ml of brake fluid is enough for bleeding a set of motorcycle brakes — provided the brake fluid in the reservoir is not stale or severely discolored. Otherwise, you need more than that for a complete flush, bleeding, and brake fluid refill.
Timing for bleeding your brakes largely depends on driving habits and OEM recommendations (the more abused the motorcycle is, the more frequent the procedure needs to happen). However, there are some guidelines you can follow to determine when it is the right time to bleed those brakes:
Once a year
Generally, it is recommended to bleed your brakes every two years, regardless of how often you use your motorcycle. But as part of good preventive maintenance, cut this timing in half.
Bleeding your brake lines annually helps ensure the proper function of your brake system (not to mention the absence of air bubbles or contaminants in the brake fluid).
Change in brake fluid color
Brake fluid discoloration is a no-brainer since uncontaminated brake fluid normally has a clear or pale yellow hue. So if you notice your brake fluid getting darker (a clear sign of moisture absorption), it is highly likely bleeding the brakes will need to occur soon.
Soft or spongy brakes
Brakes that feel feeble or spongy typically signify air in the brake lines. The sponginess is often accompanied by out-of-spec brake pressure. The only way to correct the pressure and eliminate trapped air is to bleed the brakes.
Longer-than-usual stopping distances
Prolonged braking distance is a somewhat tricky indicator of fouled brake fluid or the need for bleeding the brakes. The reason is that deteriorated brake lines often exhibit the same symptoms as contaminated or aerated brake fluid.
When worn, the former gives off a “less-direct feel at the lever” — in addition to spongy brakes, leaks, and reduced braking performance.
The only telltale sign that leans more toward flawed brake lines is the presence of unusual noises or vibrations. But even that is not exclusive to the former — hence, further troubleshooting and careful diagnosis are warranted.
After finding a leak
Leaks let not only brake fluid out but also air bubbles in the brake system. That said, bleeding the brake lines is almost automatically warranted after discovering and addressing a fluid leak.
When replacing worn brake pads or changing rotors
Like fluid leaks, changing or replacing these components inadvertently causes air to enter. But instead of the brake lines, it is the master cylinder.
In like manner, continued use of worn motorcycle brake pads result in higher brake fluid consumption, draining the fluid reservoir and creating space for air.
In both situations, replacing worn components with a brand-new part and purging the air out of the brake system via bleeding are the only ways to prevent an impending brake failure from occurring.
Following brake system repairs
As described in the scenario above, servicing or replacing a brake system component should always be followed by bleeding the brake lines. Doing so ensures no air bubbles form in the reservoir and the brake fluid is not contaminated, rendering the brake system safe and reliable.
Before a long ride
More of a precaution than remedial action, bleeding the brake lines before going on an all-day ride reduces the risk of motorcycle brake system problems while on the road.
(Tip: Avoid letting the brake fluid reservoir run dry when bleeding the brakes, as this can cause you to start the process over again. Slowly pouring brake fluid into the reservoir is also recommended, as doing it too quickly can introduce air bubbles into the brake system and negatively impact its performance).
6. Check fluid levels.
Once the brake fluid has been bled, check that the fluid level in the reservoir is at the OEM-recommended level. Although seemingly unnecessary, this step is vital to ensuring your motorcycle braking system is properly functioning and that your brake fluid is at the appropriate level for safe operation.
It is important to note that up-to-spec brake fluid levels are an ‘exact science.’ Below recommended levels and your braking system may malfunction or potentially fail.
Conversely, excessive brake fluid levels and your thumper’s brake system can become over-pressurized, negatively impacting performance.
7. Make sure to tidy up.
By now, you have ascertained that your braking system and its components are not compromised, and your brake fluid is not inadequate. All you have to do now is clean up your motorcycle and workspace.
On your two-wheeler, clean the reservoir cap and the diaphragm under it. Look out for any spilled brake fluid or splatters on the body paint, and double-check that washers, sealers, and components are snugly fit (if not flush) — without room for leaks.
Verify that all brake line connections, valves, and other parts of your motorcycle brake system are tight and secure. The same goes for the brake fluid reservoir cap.
As for the used brake fluid purged out of your brake fluid reservoir, dispose of it in a leak-proof, sturdy container with a tight-fitting lid and according to local regulations on hazardous waste disposal in your township or state.
8. Test your brakes.
After ticking off steps #1 to #6 from your checklist, it is finally time to test the brakes on your two-wheeler to see if they are back to functioning properly.
This inspection should not be limited to squeezing the brake lever or pedal and checking for loss of pressure or sponginess. If anything, you should perform the following in this step:
- Start the engine and let your motorcycle warm up.
- Check the brake lever and pedal for feebleness or unresponsiveness.
- Try out the brakes at low speeds by gently applying them. See if your two-wheeler stops smoothly and evenly after the brakes are engaged.
- If the above is successful, test the brakes at higher speeds by applying the brakes firmly. See if your motorcycle comes to a halt without skidding.
- Assess brake feel and performance while turning or cornering. Watch out for any signs of losing control or the motorcycle stopping unevenly.
If all these tests check out, voila! You are more than ready for your next two-wheeled adventure. Otherwise, repeat step #5 until your brake system is completely rid of air bubbles.
How to Tell a Compromised Motorcycle Brake Fluid Reservoir
There are many symptoms linked to a flawed brake fluid reservoir. The most apparent telltale signs are seen through changes in the brake fluid’s color or physical damage to the reservoir itself.
For instance, a compromised brake fluid reservoir can have visible leaks and a consistently low fluid level. Meanwhile, a darker brake fluid hue could indicate buildup or contamination. Finally, severe contamination caused by water or other foreign substances could result in a swollen or cracked brake fluid reservoir.
Recommended Brake Fluid Change Intervals
According to Bennetts, motorcycle brake fluid needs to be replaced every two years regardless of the severity of use. This is because brake fluids absorb water that dampens its braking capabilities (blame it on the tiny pockets of water inside the reservoir).
However, this interval would only be true for motorcycle owners who utilize their thumpers mainly for daily commutes and the occasional weekend cruises on Route 66 or the Pacific Coast Highway.
Outside of moderate riding, motorcycle brake fluid should ideally be changed at least once yearly (or whenever you service your brake system or replace components).
The difference in change intervals between DOT 3 and DOT 4 motorcycle brake fluids is not really that massive. Typically, DOT 3 brake fluid is changed every 1—2 years, whereas DOT 4 variants can last up to two years before needing replacement.
But then again, these timeframes are contingent on riding and climatic conditions, brake fluid age and type, degree of contamination, and OEM recommendations.
Best Motorcycle Brake Fluids
Lucas Oil
Lucas Oil 10825 DOT 3 Synthetic Brake Fluid
This premium brake fluid comprises a PEG ether mixture and additives that meet FMVSS No. 116 and SAE J1703 standards. It is suitable for disc and drum brakes and DOT 3 clutch systems.
An effective lubricant, it protects against corrosion and seal damage. Furthermore, it is congenial with other fluids and most brake system rubber components.
Maxima
Maxima 40-03901 XL Chain Case/Gear Oil
This is a high-quality brake fluid offering superior protection against wear and corrosion. It is specially designed for use in motorcycle chain cases and gearboxes (V-Twin Sportster transmissions included), providing consistent, lasting performance while extending the life of your drivetrain.
Its synthetic blend ensures smooth shifting and clutch engagement, making it a top choice among motorheads.
Motorex
Motorex 109911 DOT 5.1 Brake Fluid (view on Amazon)
Suitable for all hydraulic brake systems, this high-performance synthetic brake fluid’s poly glycol-based formula meets DOT 5.1, DOT 4, and DOT 3 standards and protects against corrosion and oxidation.
With a high boiling point, excellent braking performance, and anti-corrosion properties, it offers reliable, consistent braking.
Motul
Motul 100949 RBF600 Racing Brake Fluid (view on Amazon)
For use in racing motorcycles, its advanced formula provides excellent lubrication. Meanwhile, its high boiling point of 312°C ensures motorheads of exceptional resistance to vapor lock, fade, and the formation of steam bubbles (alongside a reliable braking performance).
Compatible with ABS and non-ABS layouts, this brake fluid is versatile and suitable for a wide range of motorcycles.
Liqui Moly
Liqui Moly 20154 DOT 4 Brake Fluid (view on Amazon)
This synthetic fluid reduces oxidation at high temperatures and protects metallic brake components from corrosion. Ideal for hydraulic clutch and synthetic hydraulic fluid applications, it is moisture-resistant and compatible with conventional and ABS systems.
Its excellent features include high thermal stability, low-temperature behavior, and elastomer compatibility, exceeding standards for FMVSS 116 DOT 4, ISO 4925 Class 4, SAE J 1703, and 1704.
It also lubricates all moving components in the hydraulic brake circuit, preventing steam bubble formation.
Special Mentions
Ipone
Specially formulated for motorcycles, Ipone 510 DOT 4 Brake Fluid ensures excellent performance in high and low-temperature conditions while meeting DOT 4 standards.
It prevents vapor lock, extends the life of brake system components, and provides superior braking performance.
Spectro
Spectro I.SRBF Dot 4 Racing Brake Fluid 600 is a premium racing brake fluid designed for high-performance motorcycles.
Specially formulated to withstand extreme racing conditions, this high-quality brake fluid surpasses DOT 4 specifications with a 321 °C dry boiling point, making it resistant to vapor lock while ensuring maximum stopping power in all temperatures.
Silkolene
The unique formulation of Silkolene 800164728 Pro Race Brake Fluid meets DOT 4 standards and exceeds DOT 5.1 requirements.
It offers excellent resistance to boiling, vapor lock prevention, and consistent braking performance while ensuring the same level of performance in extreme riding conditions.
Pricing provided by Motoroso
Conclusion — How to Change Motorcycle Brake Fluid
In conclusion, here are the eight simple steps on how to change your motorcycle brake fluid:
- Have all the necessary equipment before you start.
- Locate your motorcycle brake fluid reservoir.
- Remove old or used brake fluid.
- Refill the brake fluid reservoir.
- Bleed the brakes.
- Check fluid levels.
- Make sure to tidy up.
- Test your brakes.
Changing brake fluid is a crucial aspect of motorcycle upkeep that should never be ignored. After all, the chemical properties of hydraulic fluid ensure your two-wheeler has sufficient and on-tap stopping power.
If this substance becomes contaminated with moisture, dirt, and other pollutants, it can not only wreak havoc on your brake system components but also kiss your safety on the road goodbye.
That said, never skip out on replacing your motorcycle brake fluid — at OEM-recommended intervals, after system repairs, or once changes in brake fluid color manifest. Refer to your owner’s manual for specifics on brake fluid type and bleeding intervals.
Lastly, dispose of old brake fluid properly by checking with the waste management or recycling center in your area.