How to Properly Wash a Motorcycle (12 Steps)
Disclosure: We may get commissions for purchases made through links in this post.
A motorcycle is more than just a machine — it is a reflection of your personality and a prized possession. This rationale is primarily why some gearheads gravitate towards chill, road-going tourers, while others prefer edgier superbikes and dual-sport Enduros.
The same can be said about how you take care of your thumper. But let’s face it — washing a motorcycle can be a bit daunting, especially for beginners.
Washing a motorcycle is pretty straightforward. The process entails steps from pre-washing and gathering supplies to storing the bike properly. Winter cleaning, however, requires a no-rinse, waterless wash (or quick detailer spray) and is somewhat trickier.
For a more detailed rundown, here are the 12 steps on how to properly wash a motorcycle:
- Pick the perfect spot.
- Ready your supplies.
- Pre-wash your motorcycle.
- Apply motorcycle wash cleaner.
- Rinse off the cleaning solution.
- Spruce the wheels up.
- Clean the chain.
- Dry the motorcycle surface.
- Apply wax (optional).
- Lubricate the chain (and use WD-40 if needed).
- Do your finishing touches.
- Take your bike for a spin.
If you use your two-wheeler for off-roading or daily commute, following the steps in this guide regularly is a must. But if you are looking at a few months of disuse for your motorcycle following the cleaning process, you may have to do more than these measures.
How Do You Clean a Dirty Motorcycle?
1. Pick the perfect spot.
The first step to washing your motorcycle is choosing the right location. Tidying up your speedster cannot just happen anywhere — it has to be in a place that is level, shaded, and away from direct sunlight.
Understandably, securing this kind of space may not always be feasible. But strive to do so when you can, as there is good reason for satisfying these conditions other than cleaning your motorbike in peace.
Cleaning a dirty motorcycle in the shade or a covered area helps regulate the temperature of the water (which, in turn, mitigates thermal shock to the bike’s surface). Thermal shock occurs when sudden changes in temperature cause materials and substances like soap and cleaning solutions to expand or contract rapidly.
Inversely, washing your motorcycle under direct sunlight causes water and soap to dry up faster than intended, leaving unsightly water spots and streaks on the bike’s surface. Additionally, soap may evaporate before you can properly rinse it off, leading to residual soap scum.
These outcomes persist regardless of whether you use mild or harsh detergents or cleaners. Such rapid drying under direct sunlight is problematic and can damage the paint or finish of your motorcycle.
2. Ready your supplies.
Once you have a nice place to do your ‘ritual,’ you will need the following items — a bucket, a hose or pressure washer, a soft-bristled brush or sponge, microfiber car wash mitt and towel, a bike wash cleaner, a wheel cleaner, a chain cleaner, and a chain lubricant. Make sure to include gloves (nitrile gloves are optional) and eye protection for safety.
Note that using unsuitable items like a dishtowel or dish soap to clean your bike can potentially damage its paint. Additionally, there exists a plethora of cleaning alternatives that employ diverse chemicals and serve distinct purposes and applications — there is no “one solution fits all.”
That said, it is best to refer to your owner’s manual for OEM recommendations and read the instructions found on the cleaning products before using them to avoid any mishaps.
3. Pre-wash your motorcycle.
Pre-wash your bike with a hose or pressure washer to remove any loose dirt and grime from the surface. However, be careful not to use too much pressure, as it can damage delicate parts such as electrical connections, bearings, and seals.
Moderate water pressure is typically recommended for pre-washing a motorcycle. Too high or too low pressure will be ineffective in removing superficial dirt and grime without causing potential damage and frustration.
But in truth, the right amount of water pressure is determined by your cleaning equipment and the type and condition of your two-wheeler — a balance you will eventually hit with time and repetition.
(TIP: If you are uncertain what moderate water pressure looks or feels like, use a nozzle sprayer with an adjustable pressure setting. This way, you can work through the different water pressure settings gradually).
4. Apply motorcycle wash cleaner.
After pre-washing, apply a motorcycle wash or all-purpose cleaner to the entire bike. This helps remove stubborn dirt and grime from the surface. Depending on the variant you use, you may need to have the cleaner sit on the bike surface. (Note that the ‘dwell time’ of the solution varies based on the product and the level of filth on your motorcycle.)
Once the motorcycle cleaner has broken down dirt and contaminants, gently scrub the bike’s surface with a soft-bristled brush or sponge. Avoid scrubbing too hard so as not to damage the paint or other parts of your thumper.
If your bike is particularly dirty, you can apply the bike wash cleaner more than once — provided you rinse your thumper thoroughly between applications and use a product extremely familiar to you.
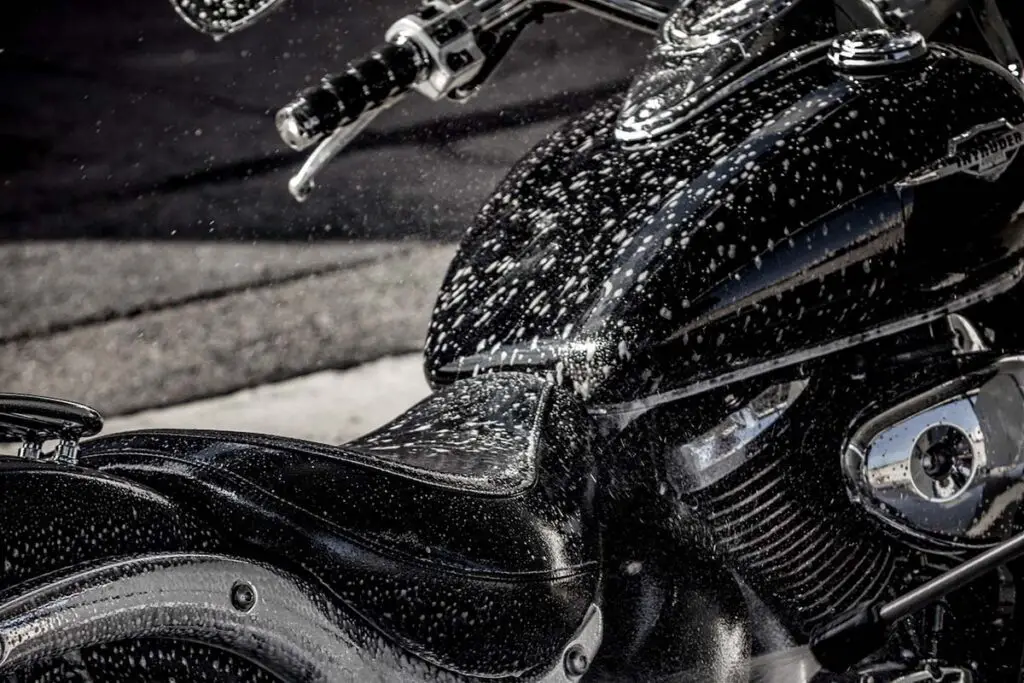
5. Rinse off the cleaning solution.
At this point, it’s time to give your motorbike a good rinse — be it a soap-and-water mix or motorcycle cleaner (as mentioned in step #4) you are washing away. You can go about this by hosing down your two-wheeler. Or you can do the “Two-Bucket Method,” as coined by The Drive.
In a nutshell, this lather-and-rinse procedure entails filling two buckets with water and soap (hence the name), then cleaning areas with heavy dirt or grime but in sections.
The idea is to alternately use plain water and soapy water to get rid of motorcycle filth. This 12-step process has been proven numerous times to effectively prevent dried streaks and water spots.
6. Spruce the wheels up.
Cleaning the wheels is an essential (albeit arduous) step in properly washing a motorcycle. It is part of the Two-Bucket Method described earlier and a step riders sometimes avoid. I can understand why some folks evade it — although it is unwise to risk trading off your peace of mind for momentary bliss.
The best way to clean the wheels is by using a soft-bristled, wheel-specific brush for scrubbing. This brush can reach all the nooks and crannies of your knobbies.
Pair this with a foaming wheel cleaner, which you can apply to the wheels generously (or as specified by the OEM). And take care not to use too much pressure while scrubbing to avoid damage to the rims.
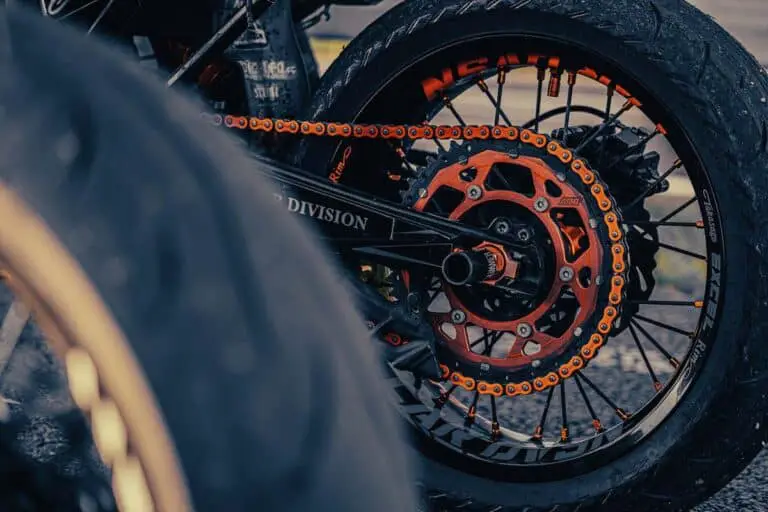
7. Clean the chain.
Unknown to some, the motorcycle chain is the reason the cleaning process for motorcycles is often done in reverse. Customarily, bike owners employ the Two-Bucket Method (or another proven cleaning technique). However, starting with the dirtiest components first is the more logical thing to do if you want to tidy up your two-wheeler in one clean swoop.
To improve the process flow, experienced owners take their bikes for a quick spin to warm up the chain before applying lubricant or wax. A chain-specific grunge brush and degreaser are likewise used to remove any built-up dirt and grime.
Regular kerosene and motorcycle chain cleaner are permitted on most motorcycle chains, regardless of temperature. However, a warm chain penetrates the O-ring chain better and helps the lubricant dissolve more quickly.
8. Dry the motorcycle surface.
Soft, absorbent towels and sponges are used intermittently throughout the cleaning process. In the Two-Bucket Method, it is utilized in the earlier points of the process (or until the motorcycle is completely rid of filth and rinsed. Whichever the case, drying all parts of a two-wheeler is crucial (especially those hard-to-reach areas).
Microfiber towels are arguably the go-to fabric for drying motorbikes. But should they be unavailable, these soft towels can be substituted by the following items:
- Chamois leather — This soft and absorbent material is ideal for drying a motorcycle because it won’t scratch the surface or leave lint.
- Air/leaf blower — This can be used instead of a towel to remove water from hard-to-reach areas such as the engine or under the seat. While it is helpful in eliminating excess water before drying the rest of the bike, take care not to set the temperature too high.
- Cotton cloth — If you have no microfiber towel or chamois leather, use this to dry your thumper. Make sure the cloth is clean and free of debris. This way, nothing could scratch the bike’s surface.
- Sponge — An absorbent sponge can also be used to soak up water from the motorcycle’s surface. To prevent scratches, use a clean and new sponge.
(TIP: Microfiber cloths are effective in removing greasy substances and are typically used for wiping the wheel hubs, engine casings, and cables.)
9. Apply wax (optional).
When it comes to keeping your motorcycle looking its best, applying wax is an essential step. Not all motorheads include this in their regimen, though, as some bikes look better rugged and with a slightly battered, unpolished vibe.
If you belong to this group, you may want to reconsider polishing your bike since good-quality wax gives body paint an extra layer of protection against harmful UV rays.
All you need to do to get this done the first time is apply a modest amount of wax to a soft cloth and massage it into the surface of the bike using circular hand movements (much like Daniel LaRusso’s training in the 1st Karate Kid movie).
The amount of wax to use depends on whether the wax is sprayed or in the form of paste. After which, buff the bike surface with a clean cloth for a shiny finish.
10. Lubricate the chain (and use WD-40 if needed).
When applying lubricant, coat the entire chain following the instructions provided on the product (you may need to rotate the wheel to ensure the lubricant is evenly distributed). There are wetter and drier lube variants, and it is up to you on which one to use.
If you are not yet savvy with the different types, know that wetter lubricants are viscous and provide better protection against water and chain rusting. Meanwhile, drier ones leave a waxy film on the motorcycle chain and are best suited for riding in areas with low humidity.
11. Do your finishing touches.
This penultimate step entails inspecting the motorcycle and checking for loose bolts, missed spots, and the like. If loose bolts or nuts are found, use a socket wrench or spanner to tighten them to spec. See if there are areas you missed to wipe dry.
Do not forget to apply a protective condition on the saddle and any other vinyl or leather surface. Finally, ascertain that lights and turn signals are fully functional.
12. Take your bike for a spin.
More than delayed self-gratification, riding your motorcycle after washing helps you better assess how it is running and identify any areas that may require additional attention or maintenance.
Moreover, the wind and the heat generated by the engine help dry off any remaining water and moisture that may have accumulated in hard-to-reach areas. It is not only a sweet reward after your hard work but also a means to keep rust and other forms of corrosion from setting in your two-wheeler.
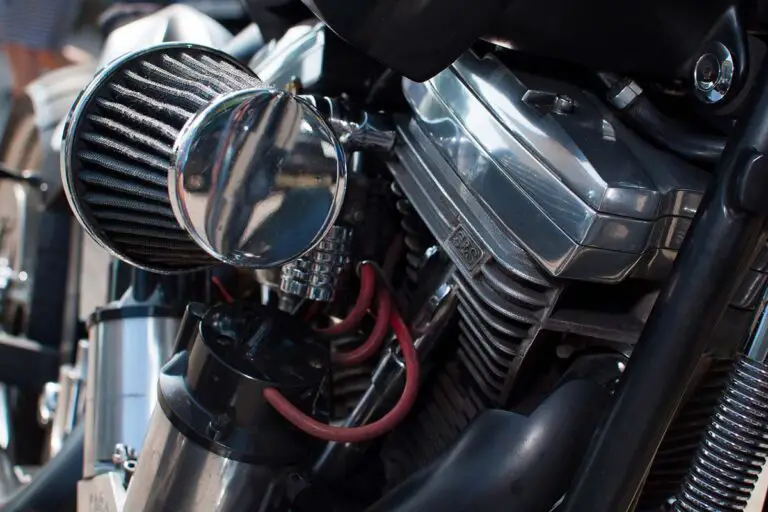
When washing your motorcycle, cleaning the air filter and carburetor is generally not required. However, cleaning these components may be necessitated if any one of the below conditions applies:
- Your thumper has been exposed to particularly dusty or dirty conditions
- There is a noticeable decrease in performance or fuel efficiency
- The air filter and carburetor are visibly clogged (or showing symptoms of the same)
In these scenarios, it is crucial to follow OEM instructions for cleaning and maintenance. I have also covered these processes extensively in two of my previous articles — How to Clean a Motorcycle Air Filter and How to Clean a Motorcycle Carburetor.
Washing in Winter (vs. All Other Seasons)
For a motorcycle used daily, it is important to wash it frequently to remove dirt, grime, and debris that can accumulate from regular use. In addition, you may need to be particularly mindful of cleaning the wheels and chain, as these parts are more prone to dirt and debris buildup than other areas.
Conversely, two-wheelers stored for extended periods should be given a thorough wash before storage. The purpose is the same — to remove any dirt, grime, or debris that could potentially result in damage.
I strongly recommend using motorcycle cleaners specifically designed for long-term storage, as these products contain rust inhibitors and other chemicals that protect your bike from further deterioration.
Conclusion — How to Wash a Motorcycle
In conclusion, here are the 12 steps on how to properly wash a motorcycle:
- Pick the perfect spot.
- Ready your supplies.
- Pre-wash your motorcycle.
- Apply motorcycle wash cleaner.
- Rinse off the cleaning solution.
- Spruce the wheels up.
- Clean the chain.
- Dry the motorcycle surface.
- Apply wax (optional).
- Lubricate the chain (and use WD-40 if needed).
- Do your finishing touches.
- Take your bike for a spin.
Washing your two-wheeler is integral to maintaining not only your bike’s appearance but also its longevity. If you need a mnemonic for the process, the phrase “LSC WARD” can help — L stands for location, S for supplies and storage, C for everything you need to check, WA for washing and waxing, R for rinsing, and D for drying.
Note that they’re arranged in random order and that you can start cleaning from the dirtiest to the least sullied part of your motorcycle (or vice-versa).
Ultimately, following the steps outlined here will allow you to breeze through this task like a pro. But if you have been doing the process for a while now, this guide will simply serve as a reminder.
In truth, a little effort and attention to detail are all it takes to keep your motorcycle’s condition like new for years to come.